You might've noticed by now that we have a thing for pineapples in our house. Or I definitely do! I love how cute they are, how they taste and I love how looking at them instantly makes you think of summer, water and beaches, or in my case lately: just watching your kids run through the sprinklers which is what at home summer memories are made of.
Yeah, so I wanted to share how I made pineapples a part of our son’s birthday party decor a few years back and I will probably be using them every year until he's way too cool for pineapple's and says "Mom please stop you're embarrassing me I'm 20!" Haha! Not really but you get it.
Not only can these cute little guys be used as party decor, they can be used to decorate your kids rooms / to decorate your patio for a fun themed bbq / as a pencil holder / as a planter ... if you get creative there's so many things I'm sure you could do with these, plus they're made of wood so they'll last a good while!
MESSY LEVEL: 2
The messiest this project gets is when you gloss/paint your wood planter (if you choose to). There's some card stock cutting and also some stapling.
SUPPLIES:
- Hand Made Modern Small Wood Planter, Septagon [You can find them HERE]
- Acrylic paint in color(s) desired
- Clear gloss varnish in a matte or shiny finish
- Card stock in a variety of colors
- Scissors
- Staple gun
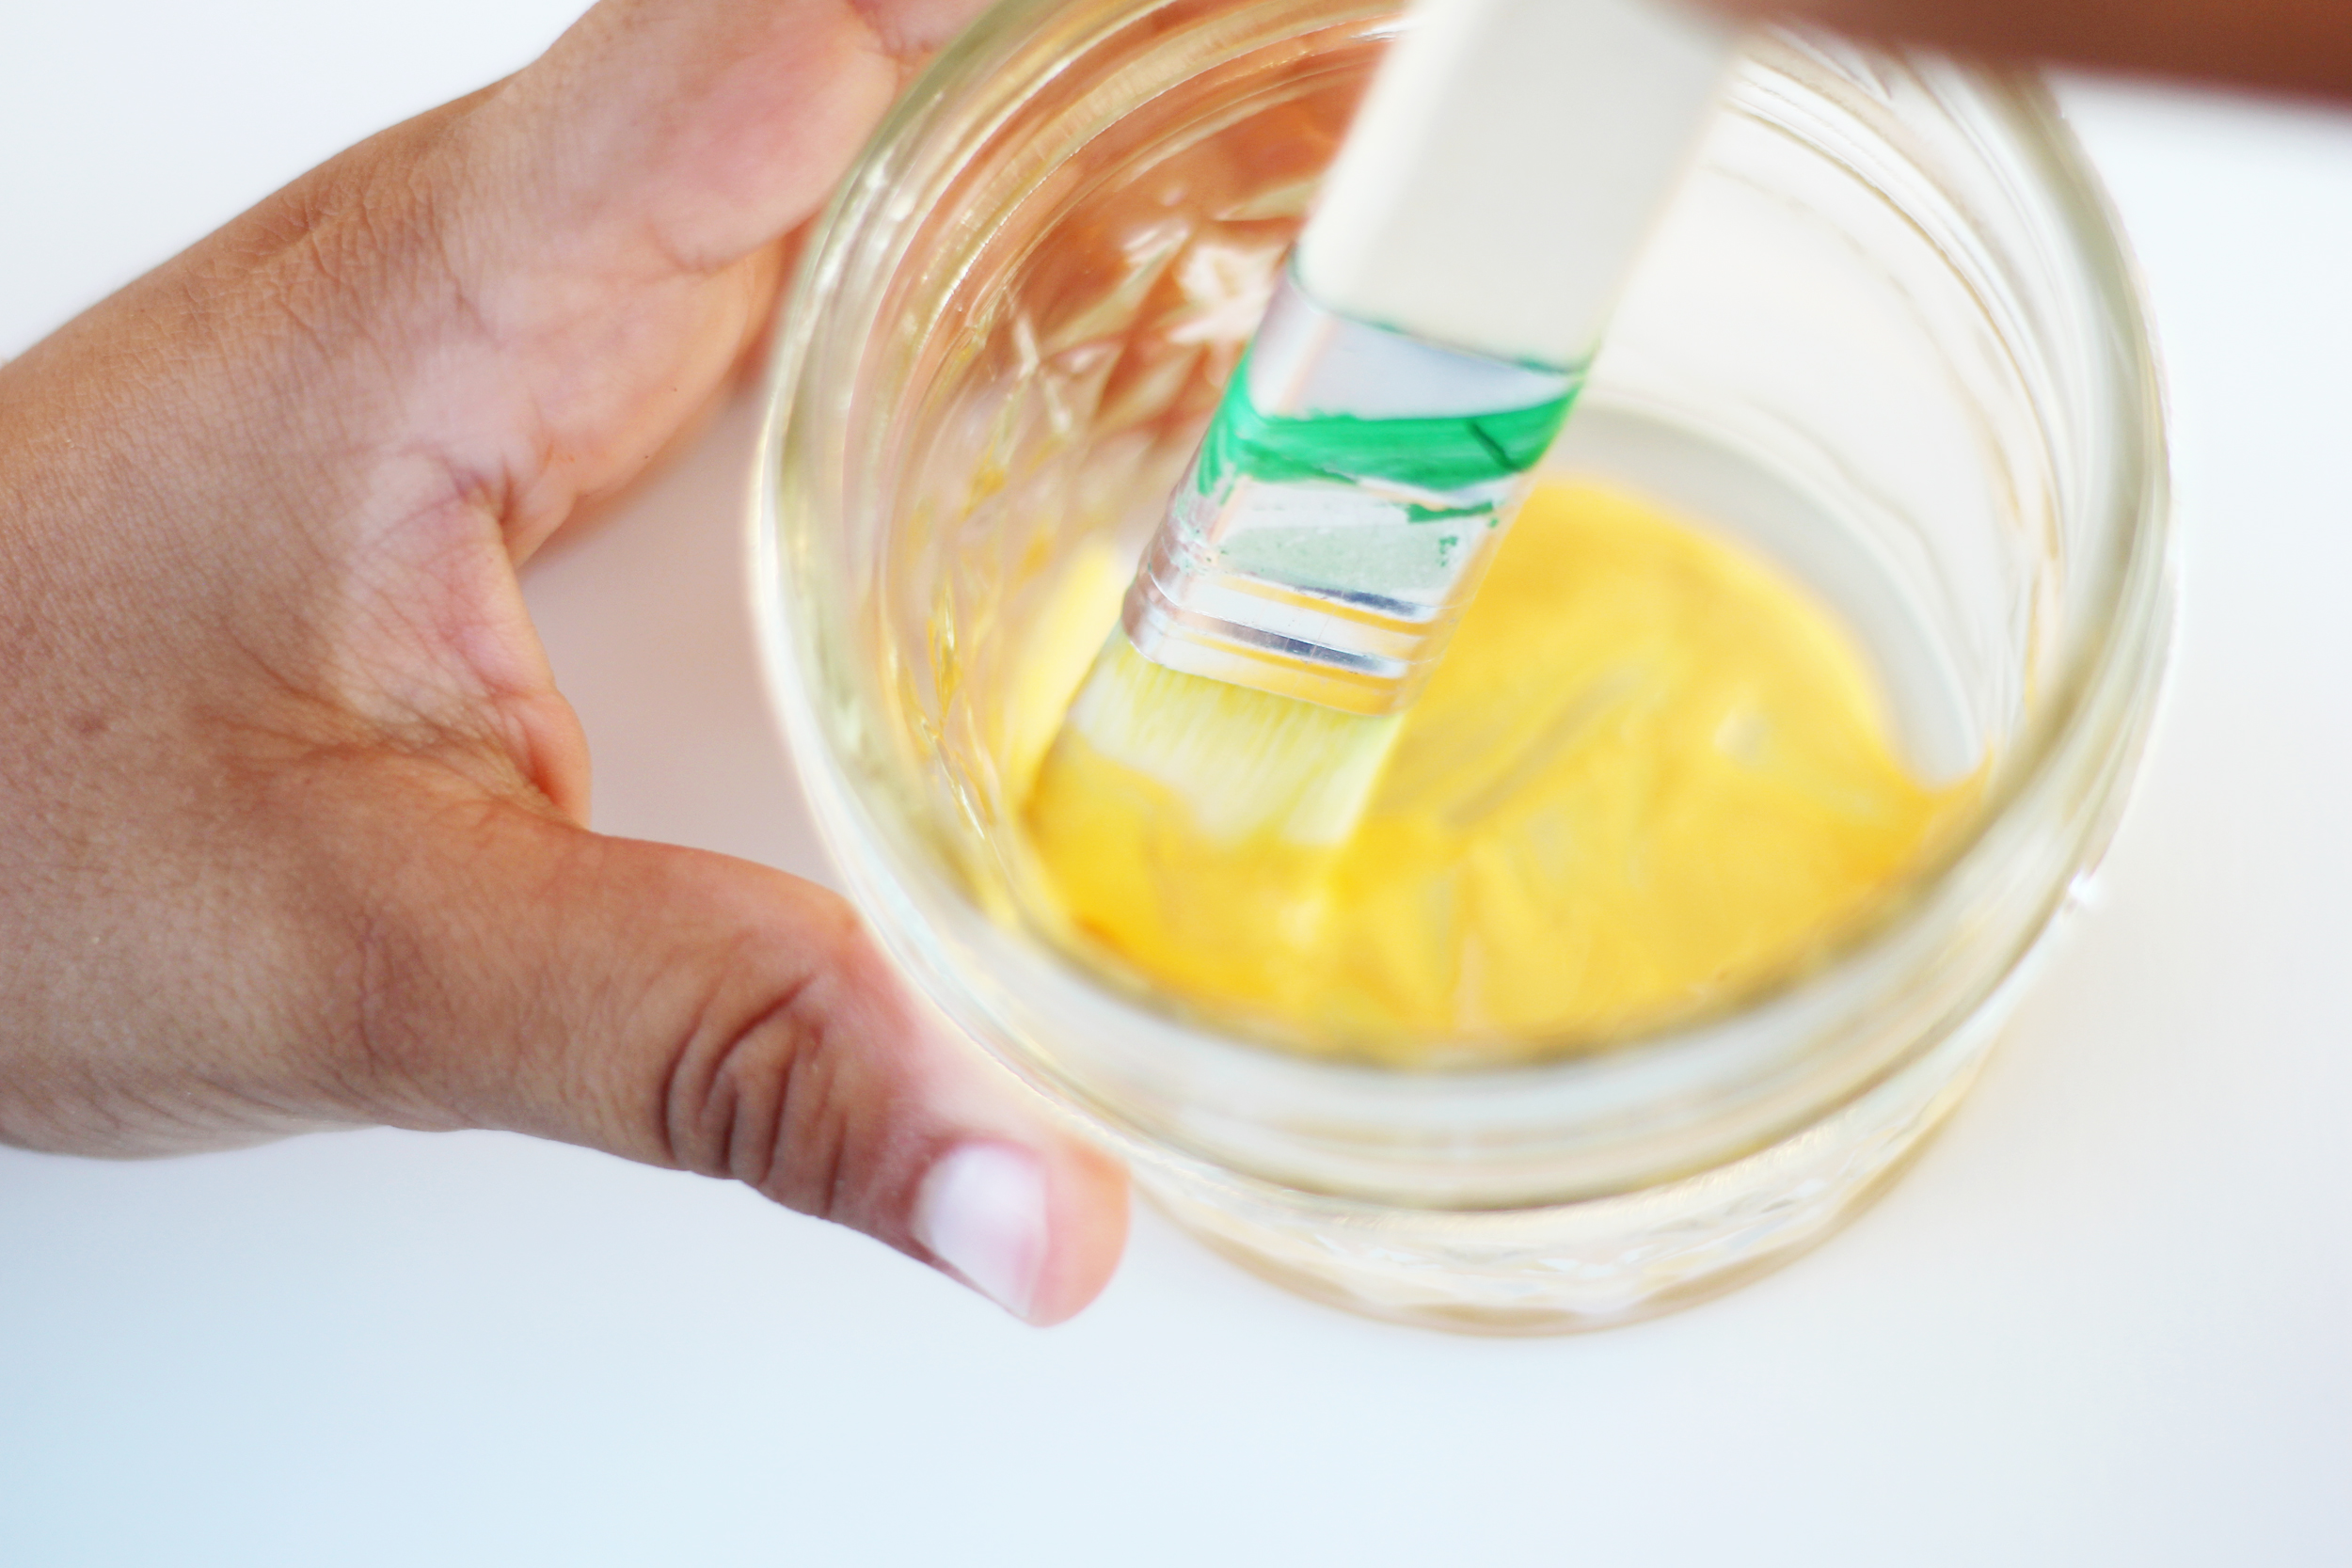
1. What I did first was mix about a 1:1 ratio of paint and gloss to make a thin glaze and painted over the wood septagons. I wanted it to be translucent enough so that you could still see the wood through them, you can paint them with a solid color or just glaze them with a clear coat if you'd like. Then start painting away, my son had fun helping with both the mixing and painting :)
2. As all of the planters were drying we started cutting our cardstock and clear sheets into what became the pineapple leaves. Ours were about 1 inch wide and varied in lengths, we also cut the tops of the leaves with angular cuts. I stapled about 10 leaves to each planter—so cut out as many as you need depending on how many planters you want to make.
3. Then you're going to start stapling the bottom of the leaves to the inside of the planter one right next to the other, working your way all the way around opening. I had mine alternate in heights to make it look more like a pineapple does.
4. After that my son and I folded the leaves in different parts all around the pineapple so that they weren't sticking straight up and looked more realistic. Then you're all done!
I was so happy with the outcome of these little guys and I made five total to place on the tables as decor for my sons party, I knew they were perfect as soon as I finished the first one and couldn't wait to make the rest! I also put straws in one and I took five polaroids of my son, then taped them between the leaves of each pineapple to add a little adorable birthday boy touch.
We can't wait to see how everyone's turn out! Hashtag #allkidsdiy so that we can see and have so much fun!! On to making more DIY's!


